Getting started
Noet is a macOS app. Download the installer, open it, and install Noet.
1. Open Noet
Launch the app and complete the short onboarding flow. Noet explains each macOS permission before requesting it. You can skip optional features and enable them later in Settings.
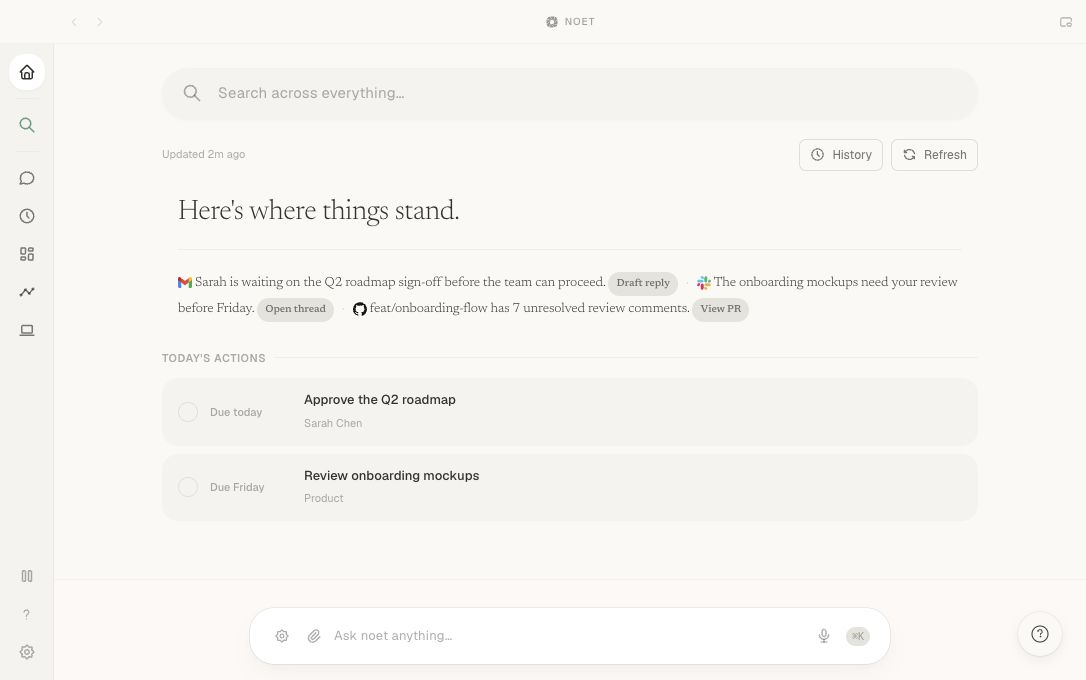
2. Choose your context
Noet works with local data and can connect to the services where your work already lives. Start with one source you use every day; adding everything at once is not required.
- Enable Moments if you want searchable screen recall.
- Connect a service such as Gmail, Slack, GitHub, or Google Calendar for cross-tool questions.
- Keep an integration disconnected if you do not want Noet to access it.
3. Ask one concrete question
Press ⌥Space, then include a subject and a timeframe:
What did we decide about the onboarding redesign this week?
Specific questions are easier to verify than broad requests. If the answer is incomplete, name the likely source or narrow the date range.
4. Inspect before acting
Open the cited email, thread, issue, or moment when accuracy matters. If a request would send, create, edit, archive, or delete something, review the confirmation before it runs.
Next
Learn how to ask better questions or connect your first integration.